Wednesday 16 October 2013

Bear Hoods

Now is the time of year to be getting our scarves, gloves and hats out of storage, dust them off, put them on and stay warm.
I have made a few hood/scarves out of other items that I no longer want. Although I will not be the one who is wearing them, they will make great gifts for a few teenage girls who have birthday's coming up and will of course make lovely Christmas gifts too.
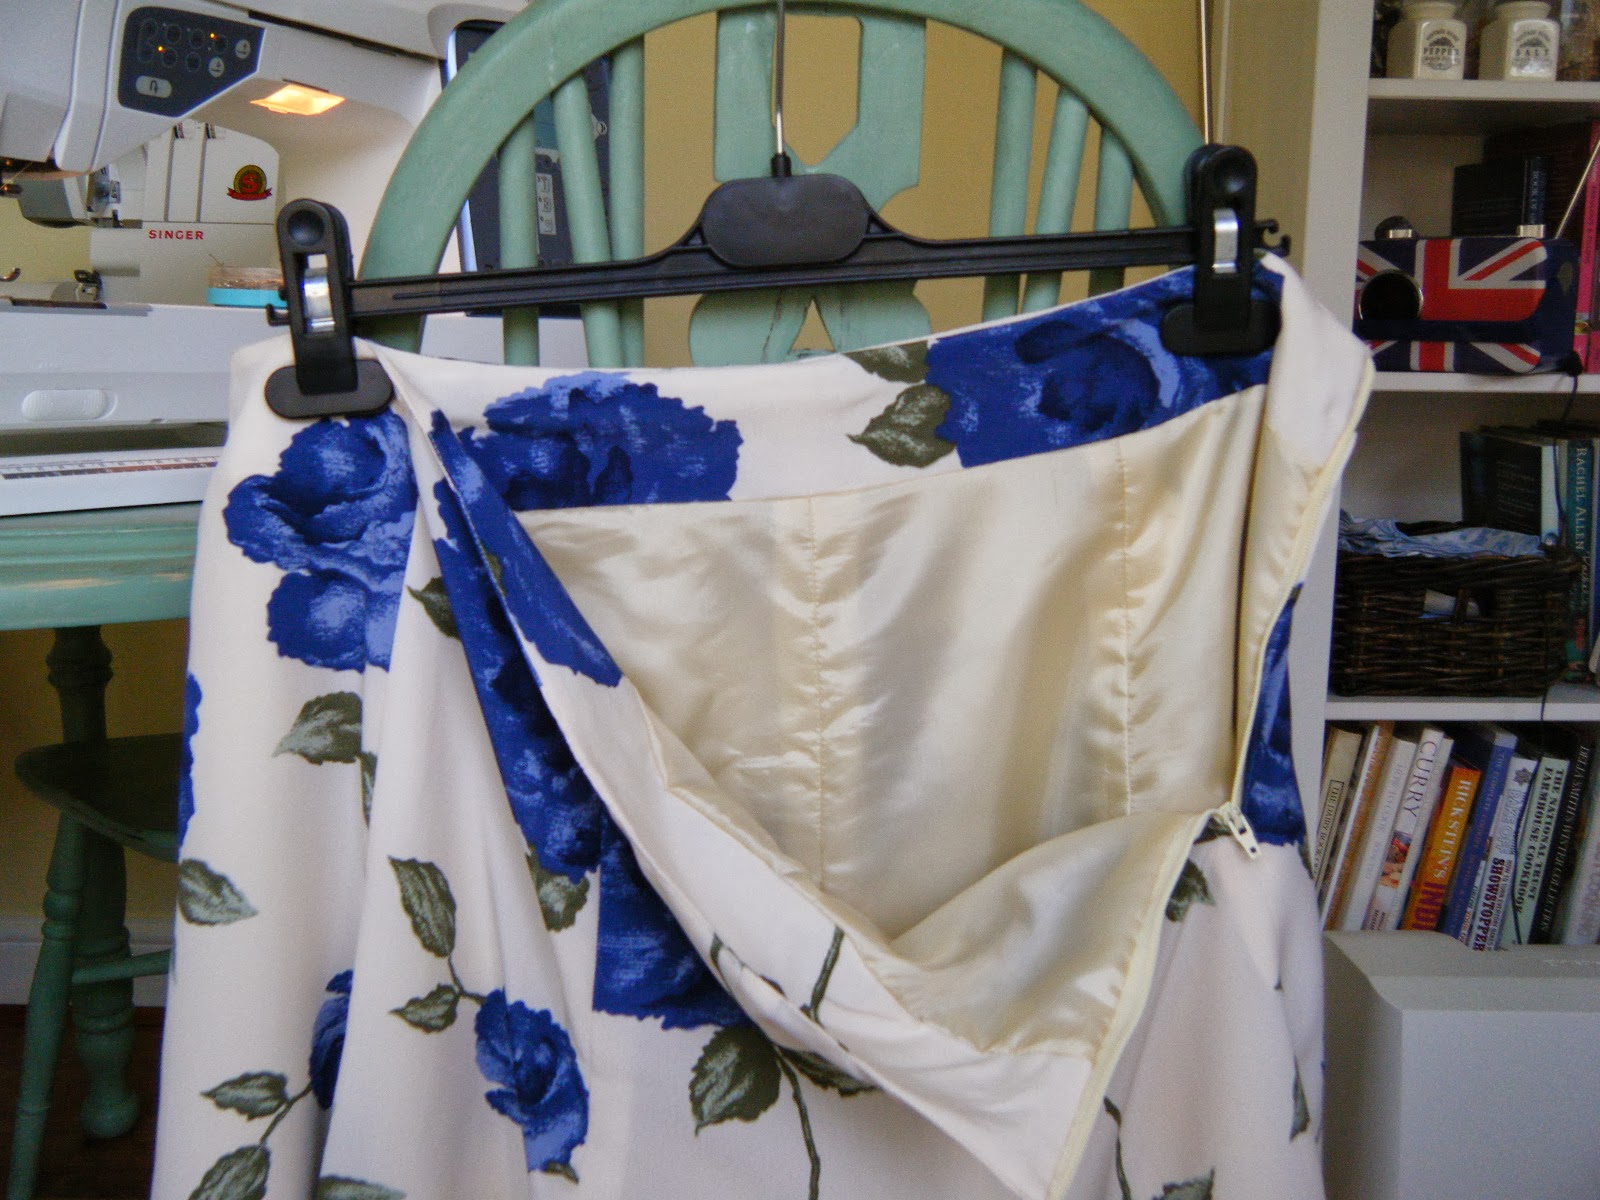
Take an old fur coat (or any old coat) and take it apart.
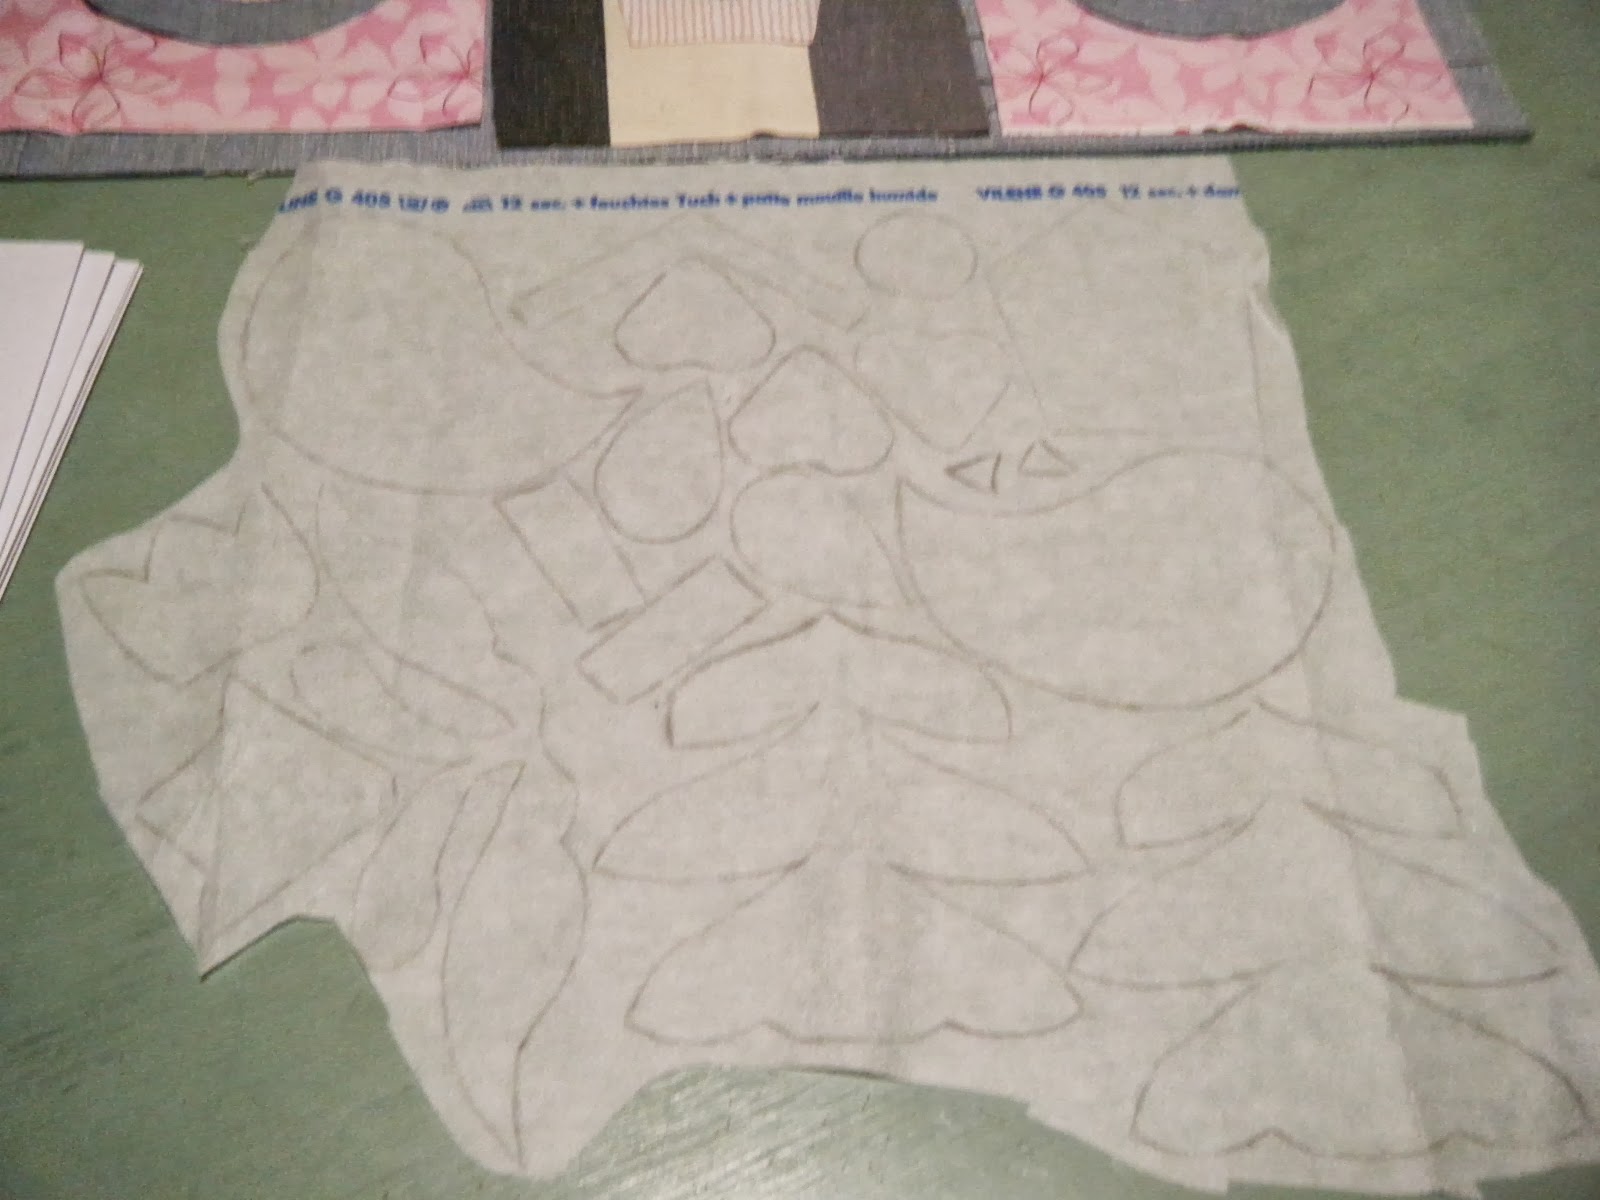
Carefully cut out the pattern pieces. The scarf element of this pattern was too long to cut it out completely, so I just made it shorter. I would have liked to reuse the lining, but it was a bit past it's useful life, so I had a root around my fabric box and found a rich burgundy lining to use instead.

Assemble the pieces (sorry, I didn't take very many pictures of this bit)
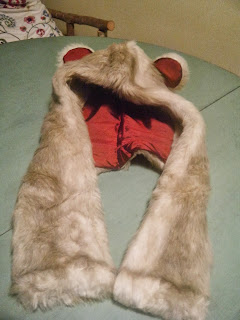
And, there you have it! a bear hood.
Although I do make my own patterns, this one was free with a making magazine. So all together, it cost me nothing except for my time. This is an easy item to make and can be easily put together in 2 or 3 hours.
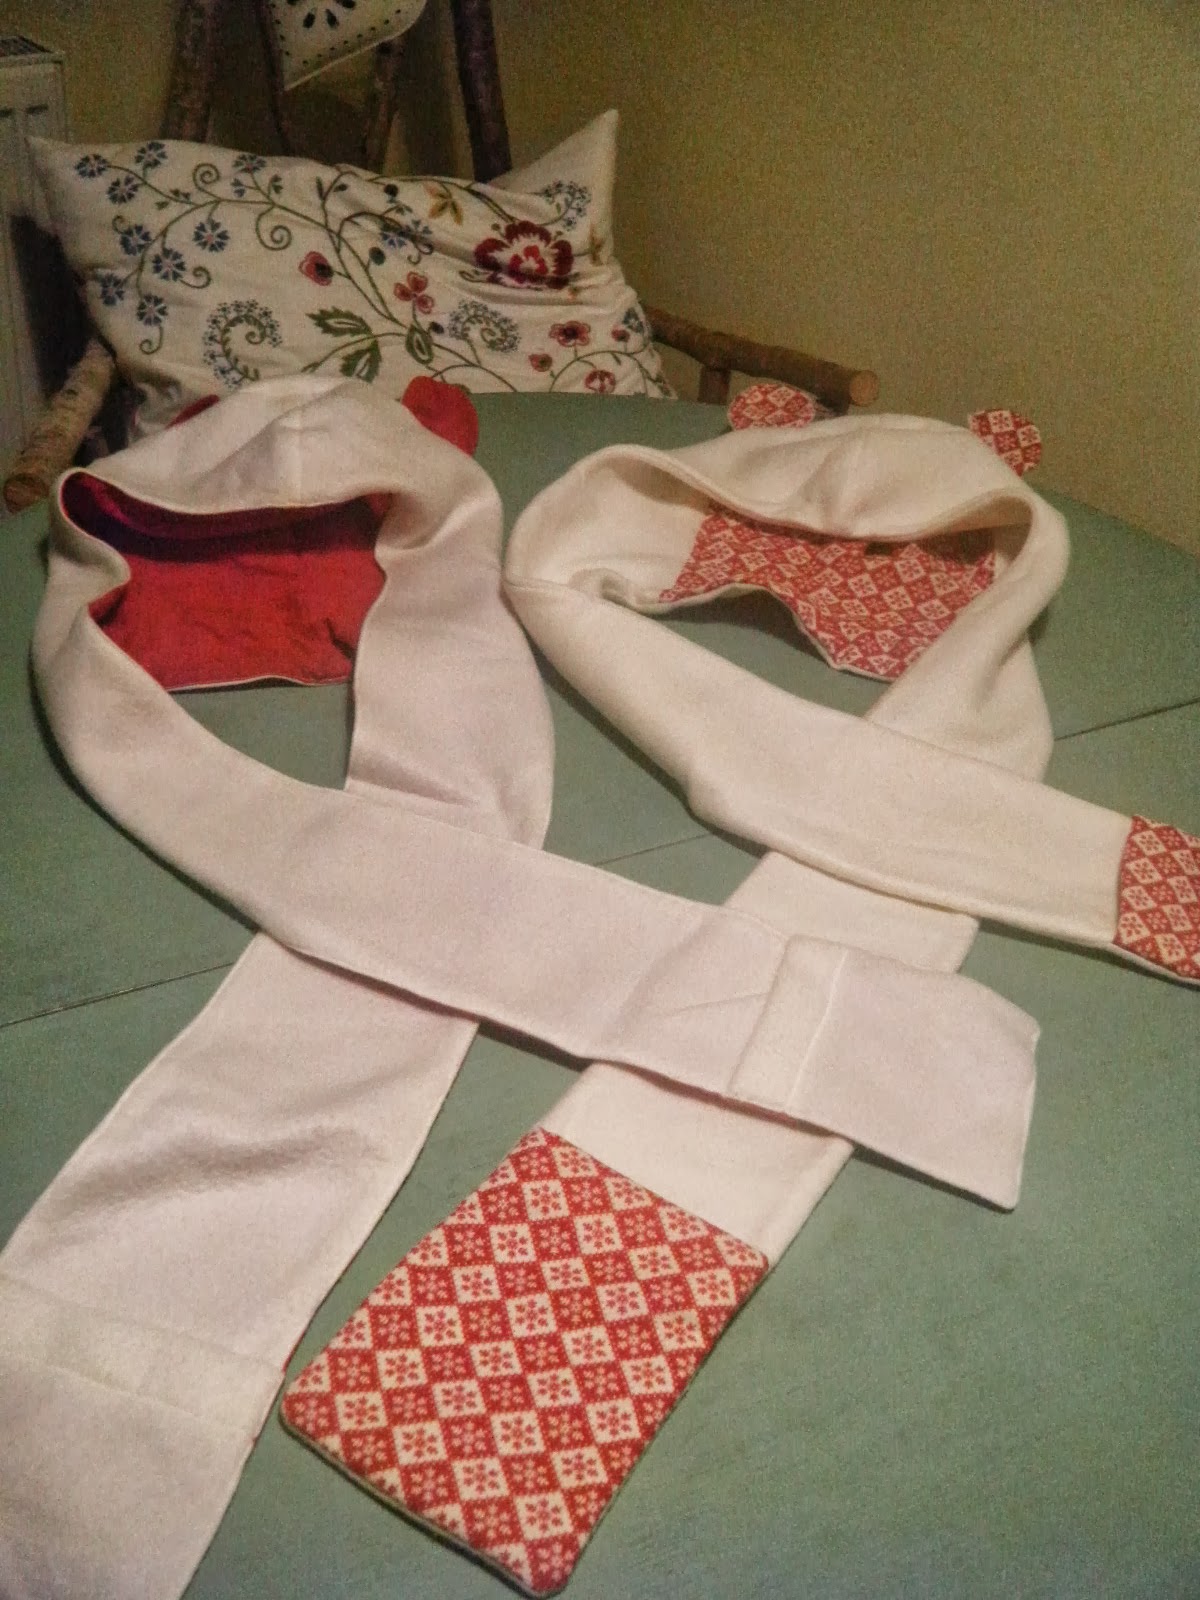
So, I made a few more out of an old blanket. They are both longer and have pockets.
This one is lined with some fabric I had left over from another project.
This one is lined with an old bed sheet.
The blanket and sheet were washed before I resused them and had very little wear in them. They had simply become surplus to our requirements so it was a choice of find another home for them or another use.
I'm very happy with the results.
Let me know what you think. Thanks for looking x

Tuesday 8 October 2013

Time to finish that project I started years ago....

Have we all done this? start something then put it down and never get around to finishing it, or leave it until it is no longer what we need, want or is fashionable? I started this skirt (I am embarrassed to say how many years ago) and have now, finally got around to finishing it. To be fair, I did make another just a few days before I started this one, but then just ran out of steam. The first one was made out of blue and white cotton fabric with a daisy print and looked like the sort of thing you might buy in the animal clothing range. I liked it a lot, it had a very casual feel to it. So, with spare fabric in another cloth I set about making another...
With the fabric already cut, all I needed to do was sew it together. First, the panels for the skirt and the lining having first adjusted the pattern so that the lining was attached to the interfacing.
I'm keen to recycle as much as I can, so I cut this zip out of an old skirt that was sent to the rag bag and stashed it away until needed.

Stitched the old zip into the new skirt.
Attached the lining and interfacing to the skirt.
Hemmed both skirt and lining.
Gave it a good press and voila!
I really shouldn't have left it for so long.....
So come on now, finish that project you started and put down. You'll feel so much better when you finally finish it. x

Saturday 5 October 2013

Sewing project - Hanging organiser (using scraps)

Sewing is my first love, I've been making things for as long as I can remember. Dolls clothes made out of bits of old fabric, knitting with 'my first knitting kit' in a little plastic basket with tiny plastic needles. My mum would patiently cast on for me or thread the needle, then off I would go creating outfits for my dolls. We had very little money, so my dolls were actually three bubble bath bottles in a Captains Decanter shape which once contained bubble bath in green, pink and yellow topped off with a furry collar in matching shades with barbie type dolls heads covering the screw caps. This, very conveniently made making outfits even easier as they had no arms or legs to worry about. Predictably, the outfits evolved into long dresses with capes, all of which could be interchanged with one another and always topped off with a furry collar in either green, pink or yellow. A little girls imagination took my barbie bottles to all sorts of balls and glamorous events.
These days I work as a teaching assistant in a secondary school. One lunch break a week, I run a sewing club for any student who wants to come along.
Last year we made Christmas stockings and bear hoods. This term we are making hanging organisers. My one condition is that we recycle as much as we can. So, before any one goes rushing off to buy fabric, we look around at what we have, trying to up-cycle where we can. While they are learning to sew, they are at least not costing their parents a fortune and mistakes are not costly.
As they become more skilled, we will design clothing items, then they can buy fabric and even put on a fashion show. But that is for the future.
This term we are making hanging organisers. I've made one to show them the sort of thing they are aiming to achieve, but the design will be up to them. I don't want clones, I want creative individuals. My effort can be seen in the following pictures...
First sketch out a design.
 Then make a pattern
 Design the applique shapes
 Stay organised by putting pattern pieces into envelopes
 After choosing the fabric, cut out and use tailor tacks to mark out where the various pieces will be placed.
 Play around with the fabric and the shapes until you are happy with the effect.
 This was my first layout.
 I felt this fabric combination worked better.
 Cut out and apply bonding to the applique shapes.
 Reinforce the corners of the pockets.
 Review and change what you don't like.
 Attach the back and sew channels at the top and bottom.
 Push doweling into the channels and hang with cord. Ta dah! 
Have a go. It's very satisfying.


.


Last of the harvest...well almost!

Just before the bad weather set in, we popped out to the front of the house where we have created our allotment, picked the veggies that were ready for picking and dug over the areas that were bare and starting to produce weeds.
For a small plot, we have had a lot of produce this year.
The potatoes were soooo good. I simply steamed them in their skins. They really didn't need anything else on them to taste delicious. There is nothing quite like eating veg that has been just picked.
As quiche is a family favorite, the peppers and courgette will be eaten that way. The last of the purple sprouting broccoli was steamed the same way as the potatoes as part of a roast dinner.
With so many tomatoes, we couldn't eat all that we picked before they became old and soft so more chutney was the solution. My favorite tomato chutney is with apricot, although I have never made it with yellow tomatoes. Wow! we had some with our lunch today and even though I say so myself, it was the tastiest batch I have made so far (and I have been making chutney for 30 years).
Usually, some of my chutney and jam is given to friends and family as gifts, then the family of the friends try to buy what I have left, but I make it for me and my family to eat, it's not a commercial thing. I have been using the same basic blue print recipe for 30 years. As if works so well, I do not see the need to play around with it too much. Over the years I have adapted it from a small batch made in the microwave (this is the original method) to large batches made in a pan on the hob. The jars you see before you were made with 2 lbs of tomatoes and 1 lb of soft dried apricots. There was a little left over that was not quite enough to put into a jar, so that is sitting in a dish in the fridge to be eaten straight away. It won't be there for long.
My mother was a bit of a forager, and I always remember that as a child she took us nutting. We would go out into the fields and hedgerows were we lived, having great fun collecting nuts. It was permission to climb trees, play hide and seek in the wild and get quite filthy with mud and grass and grime.
These days, I am a little more dignified but I still enjoy the process of walking in the country side collecting free food.
The hazel nuts will make pesto, cake flavouring and go into fruit and nut cookies. The apples are simply being eaten.
 What can I say? free food and free exercise too. Thanks mum x